If you’ve ever made home repairs, or taken on a few woodworking projects, you may have run into frustrating cracks or dents that seemed impossible to fix. The imperfections could destroy your hard-earned work, no matter if it’s an old deck, worn out outdoor trim, or even a piece of furniture. The good news? It’s simple to fix it: wood filler.
The thing is that not all wood fillers work the same. The right choice to apply for your project could have a significant impact. This guide will help you understand the best time, place and method to properly use woodfiller specifically for outdoor projects.
What exactly is Wood Filler?
Wood filler is a putty-like substance that is used to patch holes, seal cracks, and smooth out any imperfections on wood surfaces. It can be sanded stained, or painted after it’s dried, making it the most popular product for creating a seamless finish prior to applying your final coat of varnish or paint.
Based on the type, wood fillers could be water-based (easier to clean up and better for indoor use) or solvent-based (stronger and more weather-resistant). The choice of the correct one will depend on your specific project.
When should wood filler be used?
If you notice a crack or gouge or a dent on a wood surface filler for wood can be used to patch it up. Here are just a few examples of how filler comes in handy:
Repairing furniture that is damaged
Repairing cracks on doors or windows
Repairing nail holes on the trim or molding
Protecting outdoor decks and fencing
The filling in of the imperfections prior to painting or staining will result in a smoother, more professional look.
Why outside wood filler is crucial for outdoor projects
You’re doing outdoor wood projects like fences, decks or siding. It’s important to note that outdoor wood fillers aren’t suitable for outdoor use. Wood can expand or contract due to temperature fluctuations, humidity, rain and sun. If they’re not specifically designed for outdoor use, regular fillers can crack or break over time.
They are strong enough to withstand the elements. The fillers are flexible enough to move along with the wood and prevent the wood from becoming damaged as the seasons change. Many exterior fillers are also resistant to mold, moisture, and UV rays exactly the outdoor wood surfaces need.
The Best Way to Apply Deck Wood Filler
For cracks and gaps that are larger in outdoor decks, a deck wood filler is your most reliable partner. It is usually available in simple tubes that can be used with a caulking gun that is standard and make the application quick and easy.
Here’s a brief guide on how to do it correctly.
Cleanse the surface: Clear away dirt or debris and old filler.
Cleaning the Area The crack should be lightly sanded or the hole to let the filler stick.
Apply the Filler using a putty knife or caulking gun for pressing the filler into the damaged area. Fill the damaged area with a bit more than to allow for shrinkage.
Dry It Let It Dry differ based on the type of product you’re using and how thick it is.
Sand it smooth: Once the wood is dry, smooth it out with the surrounding area in order to make it appear seamless.
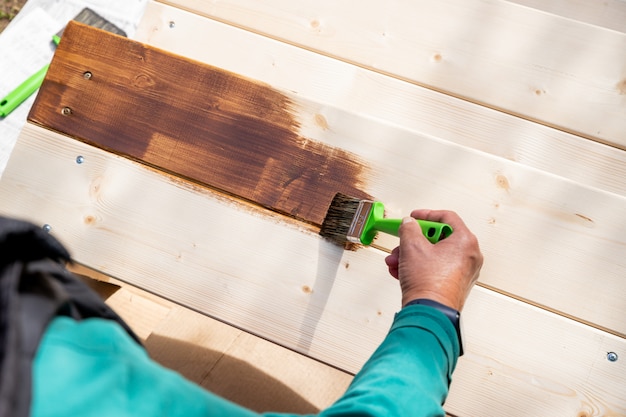
Paint or stain the primer Paint or stain your project with stain or paint to are in harmony with the rest.
Small Step, Big Results
At first glance, picking up one of these tubes might seem like a small deal. Ask anyone who not done this, only to have regretting later on that it caused all the difference between an amateur DIY task and a professional look.
Whether you’re restoring an old chair or patching up a backyard deck, using the right wood filler, especially exterior wood filler or deck wood filler where needed, ensures your hard work stands the test of time.
Before you pick up the paintbrush, remember to smoothen it first then fill it in with paint and seal it. Your wood-based projects (and the future you) will be thankful for it.